

Making custom boxes can be used for a few good things, and it could also be used for many other good things. Perhaps you are wrapping a gift during the holiday season that requires a box for structure or shape, would benefit from a layer of cardboard protection, or have to squeeze an odd-sized or shaped item into a box for storage or shipping.
Manufacturing boxes can help make selling items online easy. Making an item’s box reduces postage and shipping costs by reducing the size, weight, and amount of packaging required.
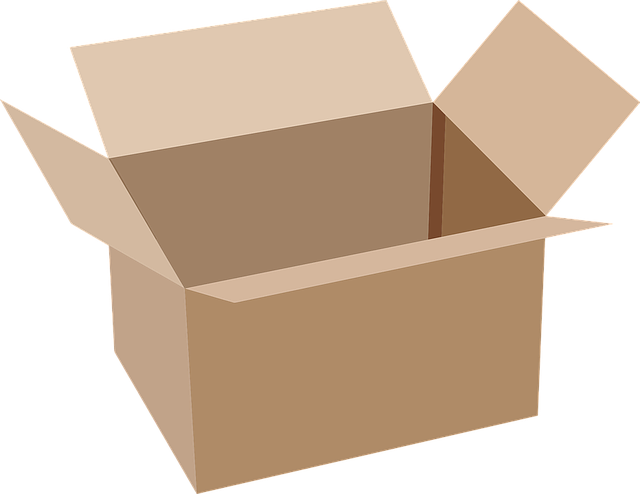
You need to grab a few items to start making cardboard shipping and mailing boxes, like cardboard, scissors, tape, etc.
You need to follow six steps to make cardboard shipping and e-commerce mailer boxes.
Step #1: Break Down
Open the tabs on the top and bottom of the box to break the box down. Now cut the tabs using a cutter and remove all the tapes. Once this is down, unfold the tabs and repeat this procedure to make proper folding.
Step #2: Mark the Corners
Once the plain sheet of cardboard is spread on the floor, place the required item right on the sheet. But before doing this, bifurcate the sheet into two halves by placing the frame in the middle to the spaces between the edges and the center even out. Now cut the cardboard from the middle from bottom to upwards to make two equal flaps to cover the item completely. Otherwise, only one-half of the item would be covered, and the other half would remain bare.
At this line, you should keep the cardboard intact to remove it! Use the blade to mark the top of the cardboard! Later, we will observe that this perfectly folds the cardboard.) On the opposite side of the item, draw another parallel cut line. Proceeding this, place the item on one side of the sheet and keep the other side free. Place the item at 90 degrees on the sheet and cut out the same flaps to cover the sides now. Now roll the item 180 degrees to cover it up completely.
The box cutter removes the excess cardboard from top to bottom, leaving half the item’s width as space (as we did in the first cut line).
Step #3: Cut to Size
The next step is cutting the sheets to the item’s size. To do so, move the item towards any side on the top or the bottom of the mailing or shipping box. Avoid pushing the item to the edge! You will need to leave half the width of each side of the item as extra cardboard that can be folded onto the sides.
Cut the remaining excess cardboard from side to side, leaving half the item’s width as extra cardboard on the opposite side.
Step #4: Flip and Fold
Remove the item from the cardboard and flip it over to the other side. See how effortlessly and precisely it bends to form the box’s four corners by folding along the cut lines!
Fold the box shut after you place the item inside. I tape after I fix the sides, but for your first box, it might be easier to tape where the top and bottom edges meet.
Step #5: Fix the Sides
Now, look at one of the two open sides to see the side of your item and some leftover cardboard. This is what will be folded over to create the box’s side.
To create four distinct tabs, you should trim the exposed corners. You are using a box cutter, cut from the inside out, starting at the item and working away from it. Make four cut lines on the outside edge where the cardboard folds across the item after cutting all four side corners in this manner. For the other side of the box, repeat this process.
You will then be prepared to tape the box. You can tape it in pieces or all at once. It depends on how much tape you think your box needs, but a neat, well-cut box only needs a line of tape where the sides meet.
Step #6: Completion
You’ve built a box!
A bespoke cardboard box works if you have a fragile item. Bubble wrap is also an option. You can also build boxes with different shapes to fit other things, like a triangular box for posters, an oblong, or another shape for anything.
But there’s more. By shipping in the smallest and lightest package possible, you have saved money by not packing peanuts or foam, using very little tape, or paying less for postage and shipping. Furthermore, to refer to, what’s more, you are reusing boxes by allowing them a subsequent life!